Create a CSR on Microsoft IIS 10
Create a Certificate Signing Request on Microsoft IIS 10
Note Follow the instructions below to generate a CSR using Microsoft Internet Information Services 10
Creating a Certificate Signing Request
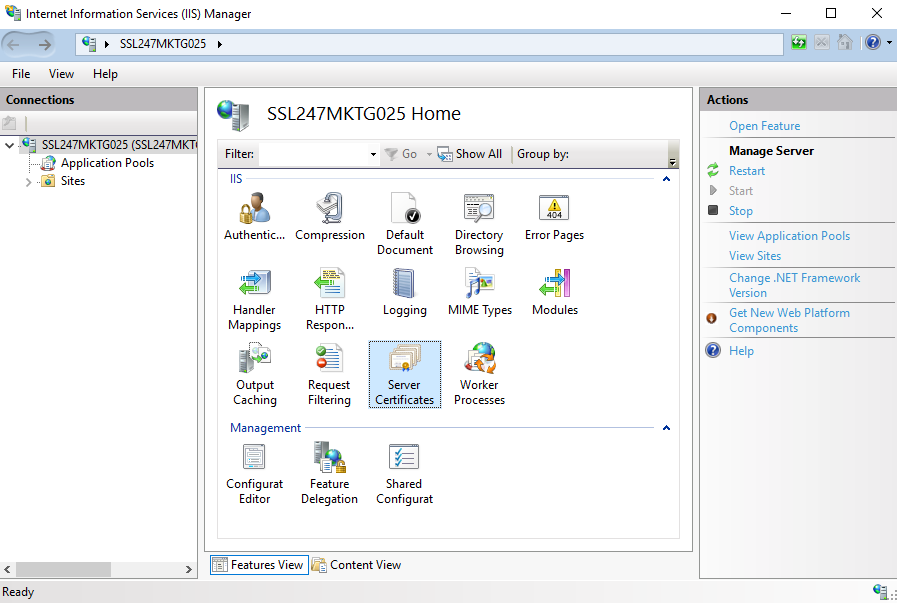
- Launch Internet Information Services Manager on your device
- Select "Server Certificates" from the main menu
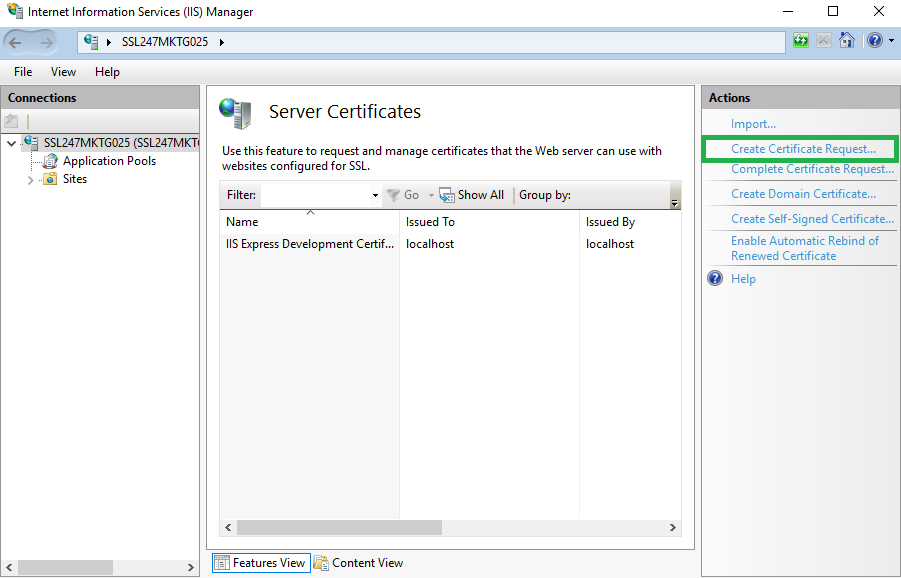
- The Server Certificates panel will appear - select Create Certificate Request from the panel located on the right-hand side
- The Distinguished Name Properties window will appear - please enter your details in the fields provided
Organization - enter the company name or write "NA" if there isn't one available
Organization Unit - this has to correspond to the department which will handle issuance and installation - e.g. IT
City/Locality - Your city
State/Province - The state in which your city is located. If unavailable you can input "NA"
Country/Region - Select your country from the dropdown list

- Click Next
- Cryptographic Service Provider Properties will appear. Adjust the settings to your required specifications and click Next.
Bit Length - This field adjusts the length of the Private Key (must be 2048 or higher)

- This is the final part of the process - Select the path save the CSR code.
Ensure that files are saved to an existing directory otherwise an error message will appear

Once this process is completed, you will be able to copy and paste your CSR code in your SSL order.
To install the certificate, please refer to our other IIS 10 tutorial for SSL certificates.


